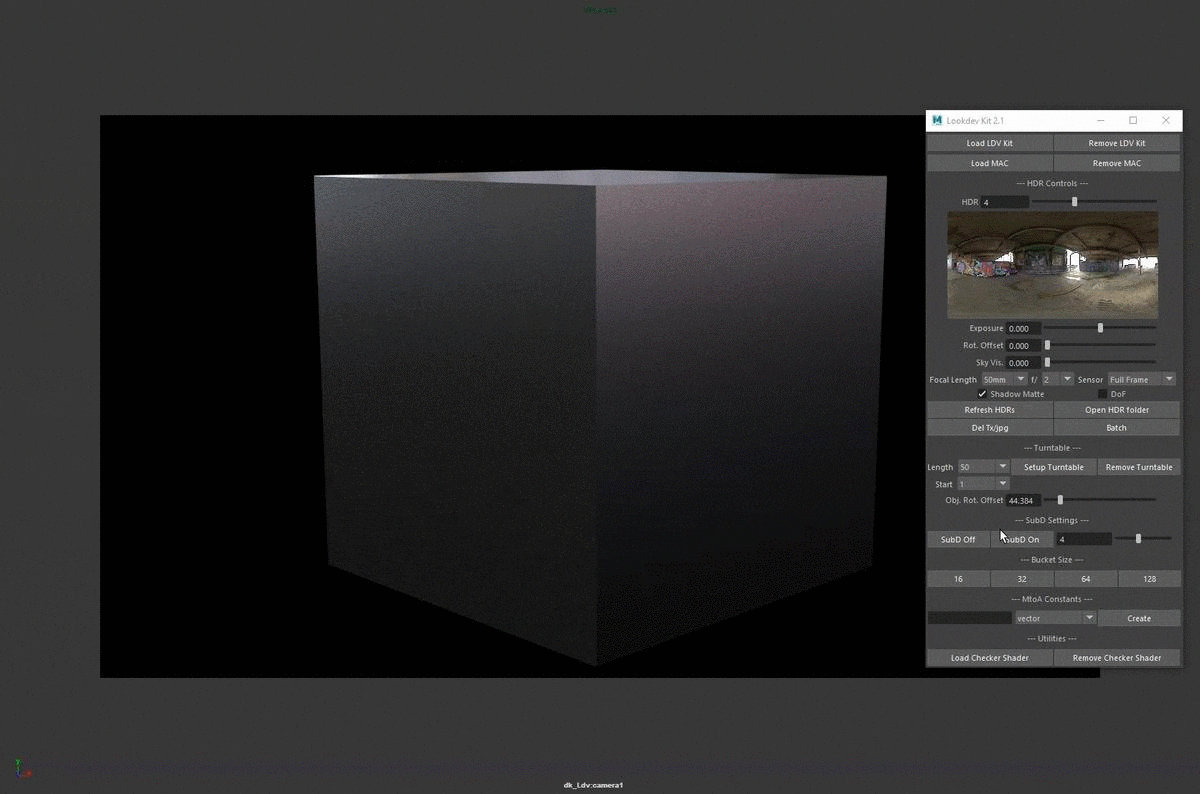
Lookdev Kit

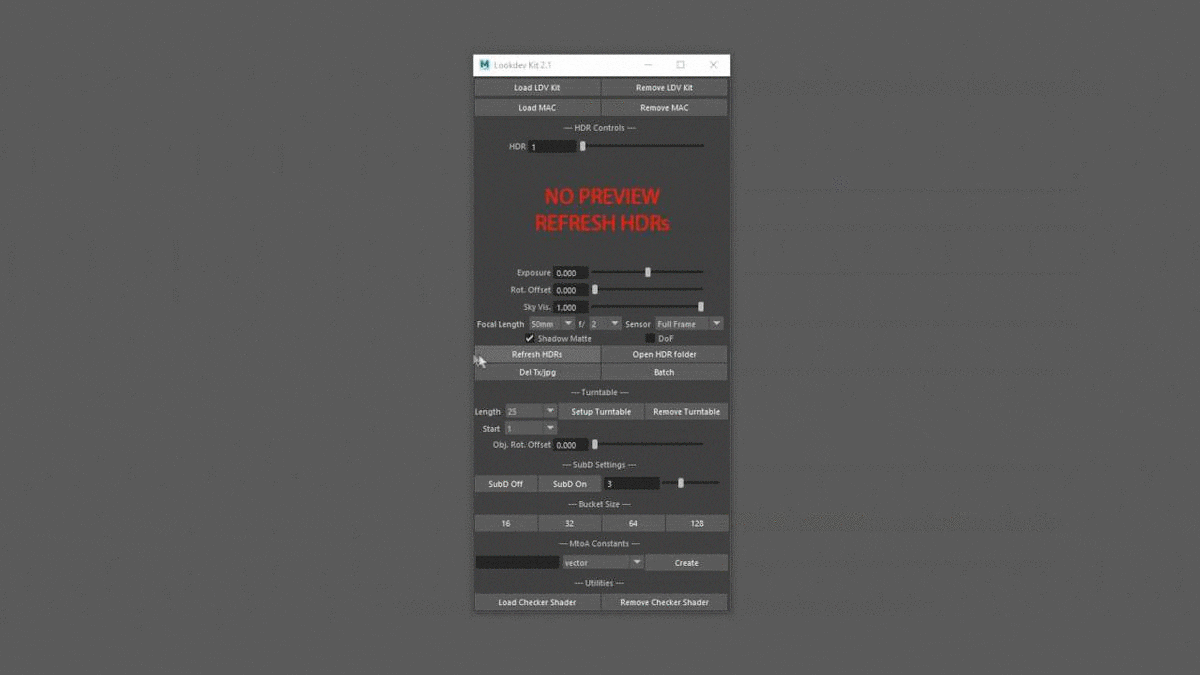
Lookdev Kit cheat sheet - click on the image to zoom in
DOWNLOAD:
You can get it for free from this DOWNLOAD LINK
REQUIREMENTS:
Microsoft Windows, Autodesk Maya 2023 and Arnold renderer
INSTALLATION:
You can find a lookdev_kit_install.txt file in the 7zip archive when you download Lookdev Kit from ArtStation Marketplace where you can find all of the steps necessary to run the tool. But, I will explain them here again .
- copy entire lookdev_kit folder from .zip to your MyDocuments Maya scripts folder. It is usually here:
C:\Users\<user_name>\Documents\maya\scripts
You can create button by yourself:
If you are on Maya version with python 3:
- open script editor and in PYTHON tab paste following code:
import imp
from lookdev_kit import ldv_kit
imp.reload(ldv_kit)
ldv_kit.buildUI()
If you are on Maya version with python 2, I left the old copy of lookdevkit script in same folder, command for launching python 2 version should be:
- open script editor and in PYTHON tab paste following code:
from lookdev_kit import ldv_kit_py2
reload(ldv_kit_py2)
ldv_kit_py2.buildUI()
I am no longer developing python 2 version of ldv kit, but I will provide the latest version (2.4) that has been written in py2.
You can always select that code in script editor and middle-click-drag it to your shelf to create a button, so you can call it when needed.
After you run it, you will have to click on Refresh HDRs button.
LOAD/REMOVE BUTTONS:
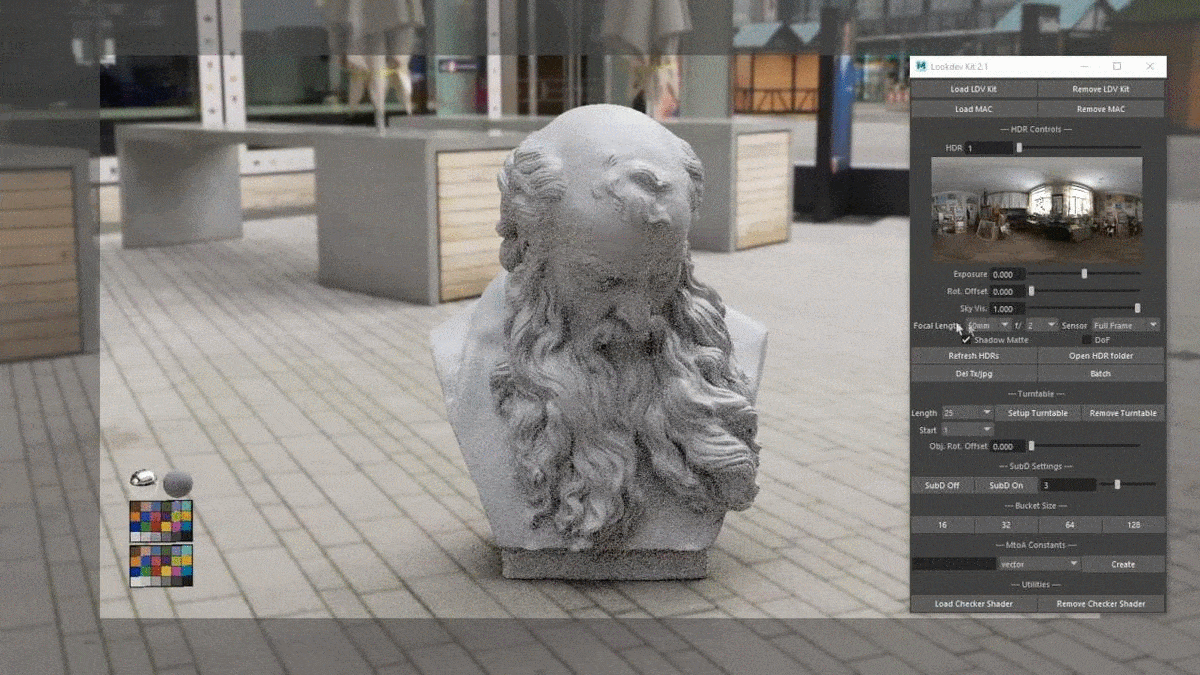
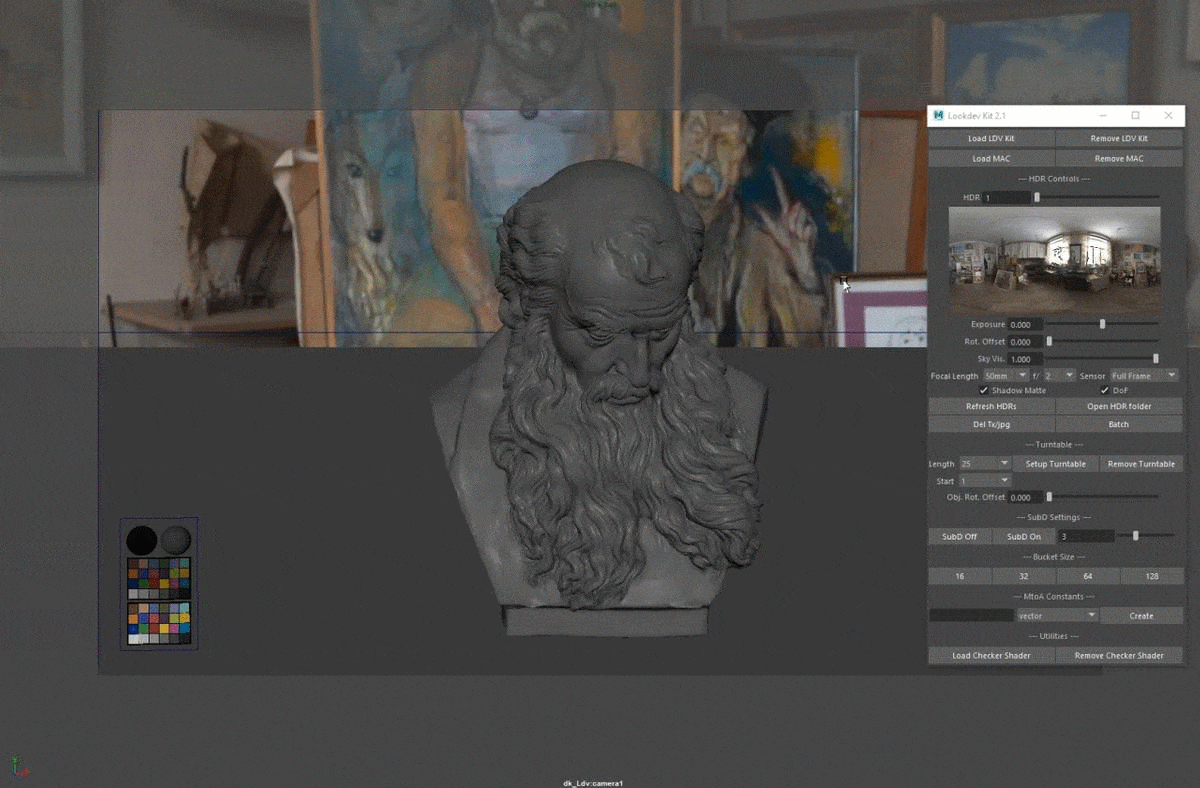
Load/Remove LDV kit buttons are pretty much self explanatory, but I've added new features to this also. If you press the Load LDV kit button it will create the lookdev scene, as it always did.
But, if you have your asset selected while pressing the Load LDV kit button, it will calculate the world space object size and adapt the lookdev scene to your object. It will reposition a camera to better frame your asset and move focus plane in order to better position focus point. Of course, you can additionally re-frame the shot and adjust the focus plane. It will also setup the turntable, so you have everything ready for your lookdev tasks.

Asset auto-framing - LDV kit will automatically adapt to your asset and try it's best to frame it correctly
HDR IMAGES AND CONTROLS:
You can use HDR slider to switch multiple HDRs that are included.
Lookdev Kit allows you use your own HDR images. You can just paste them in the HDR folder (lookdev_kit\sourceimages\hdr) and run Refresh HDRs command from Ui. Refresh HDRs command will also rebuild all of the preview images and adapt Lookdev Kit to work with new HDRs. There is also a button in Ui to open the folder that contains all HDRs.
HDR images taken from hdrihaven.com

HDR switching
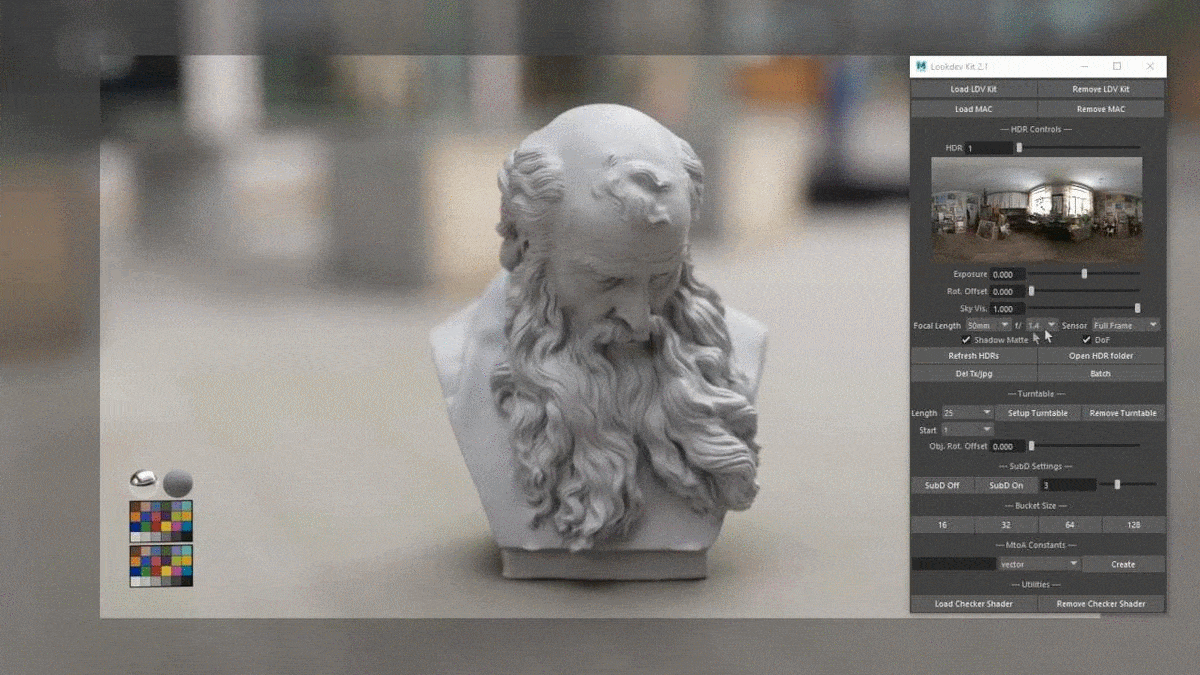
PHOTOGRAPHIC CONTROLS:
You can change Focal length, Aperture and Sensor Size.
Focal length changes camera focal length.
Because Arnold camera settings doesn't show camera aperture in f-stops, but with number that represents camera aperture diameter in world units, I have created a script that allows you to choose aperture settings in f-stops. In the background it will recalculate the Arnold camera aperture diameter depending on the chosen f-stop setting in the Ui. It considers chosen Focal length and chosen f-stop in the calculation.
I've also included sensor size settings if you want to simulate different sensor sizes. 3 sensor types are included - Full Frame, APS-C (1.5x crop) and Micro 4/3 (2x crop). This setting will change your field of view on the camera, because sensor size influences focal length of your lens.
If you turn on DoF checkbox Focus Plane will show in the viewport and Depth of Field will be turned on. All the settings that I mentioned will influence DoF thickness and Focus plane will change size depending on the settings chosen.
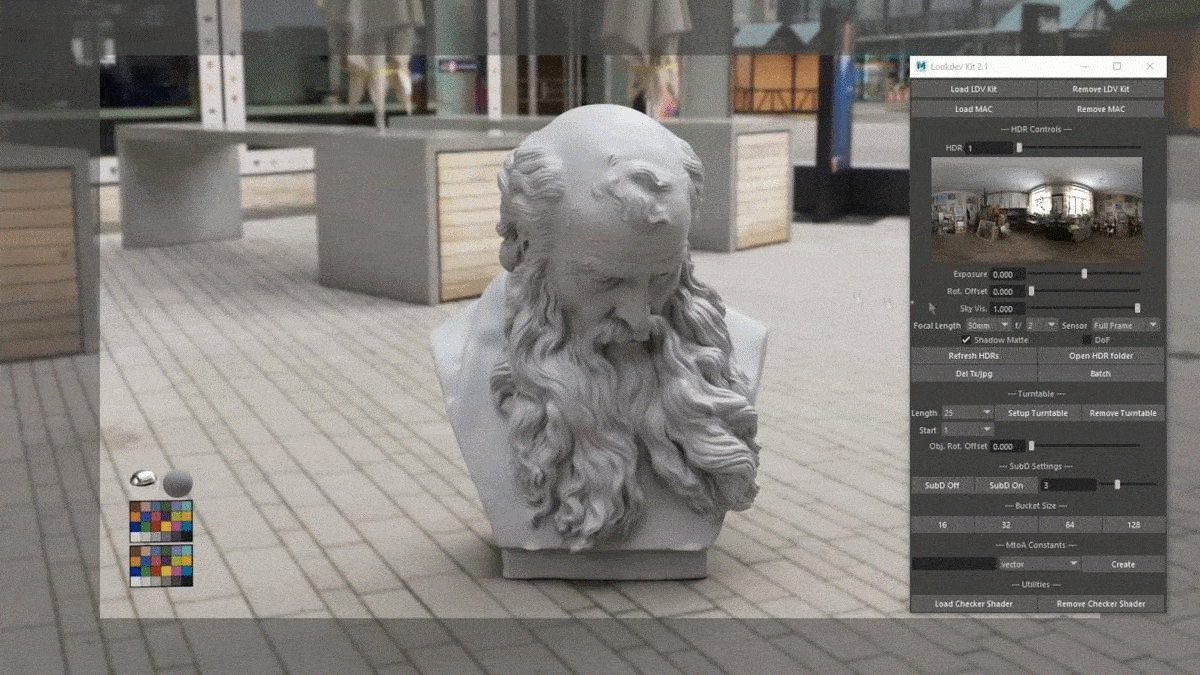
In this section I also put Shadow Matte and Blurred HDRI checkboxes.
SHADOW MATTE will turn on or off Shadow Matte plane under your asset
BLURRED HDRI will use blurred version of HDR image in the skydome. This is useful if you want to have blurred background in your turntables without using DoF. Or, your HDRI is looking "busy" and you want to blur out details a bit. When you do a refresh HDRs command, you will need to be a bit patient, it will take a bit longer because script needs to create blurred versions of HDR images. Also it will scale any HDR image to 4k resolution. On Ryzen 9 7950x this takes less than 1 minute, but on Ryzen 5 2600X it can take up to 5 mins. It depends on the CPU power in your PC, good thing is, you will have to do this only when you install LDV kit, or change/add HDR files.
Switching between focal lengths - 14mm, 50mm and 90mm
Switching between f stops - f1.4, f5.6 and f16
Switching between sensor sizes - Full Frame (1x crop), APS-C(1.5x crop) and MFT (2x crop)

Switching between blurred and normal HDRI
FILE MANAGEMENT:
In the Lookdev Kit you can use your own HDR images. I've added this feature because a lot of people use different HDRs.
Refresh HDRs - Deletes old and generates new HDR preview images for Ui and .tx files for all .hdr and .exr files in the HDR Folder.
Del Tx/jpg - Deletes generated HDR preview images for Ui and .tx files
Open HDR folder - Opens a folder that contains HDRs used in Lookdev kit. You can delete the included HDRs, paste your HDR files here or use both in the same time. When you paste additional files press the Refresh HDRs button.
Refresh HDRs command has been optimized since version 2.1, It will check how many cores your CPU has and it will run multiple image conversion tasks at the same time.
Refresh HDRs command
BATCH RENDERING:
Batch button in the file management section launches new Batch rendering UI. In this UI you can select multiple HDR files and render either single frame or complete turntable. For turntable rendering you have to have your turntable set up. It will figure out which HDRs you have selected and it will render turntable for your asset for every HDR in your selection based on the turntable length that you have set,
It will render everything with kick.exe, Arnold's command line renderer, so you can freely close Maya or continue to work on some other project while you wait for render to finish.
Default output path will be selected based on the project you have set in Maya and it will point to images folder in your project folder. But you can change the output path in the Batch UI by clicking on the browse button (...) next to the Output path field. Currently batch renderer will output .exr sequence.
If you check the Shutdown checkbox it will turn off your PC when render finishes. Just make sure you close other apps so they don't block shutdown.
Just an advice - if you have started one batch rendering session, do not run another one until first one finishes.

Batch rendering Ui cheat sheet - click on the image to zoom in
Batch setup and rendering
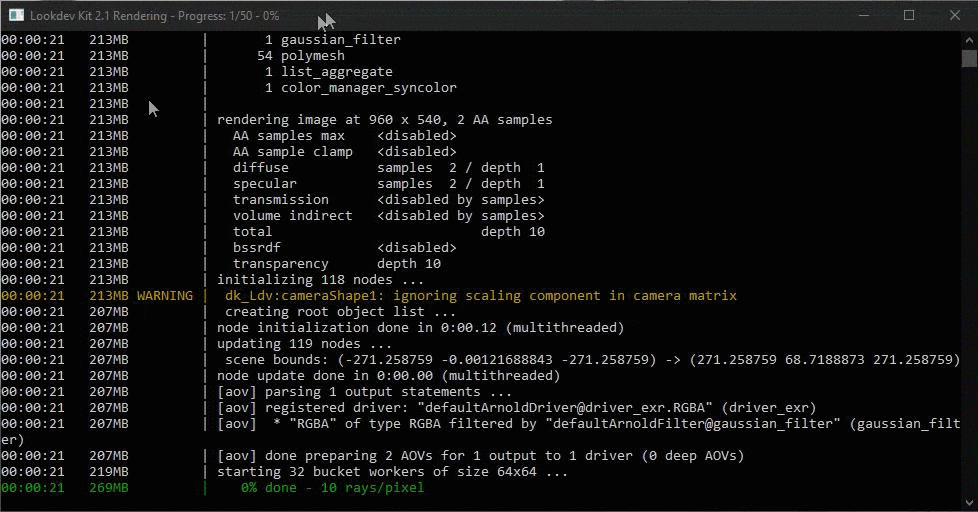
Batch rendering CMD window - it will show rendering info for all frames in the title bar and per frame progress in the window itself
TURNTABLE:
You can select your objects, choose turntable length in frames and click Setup Turntable button. It will create a Lookdev scene and create all of the constraints and animations that are necessary. First half of the timeline is reserved for object rotation,and second part for Skydome rotation.
If you want to change the length of the turntable just choose different length. Obj. Rot. Offset allows you to manually rotate your object, without influencing already present animation.
from Lookdev Kit 2.1 you can also select Start Frame for the turntable. Choice is 1 or 1001, as some studios start their timelines from 1001.
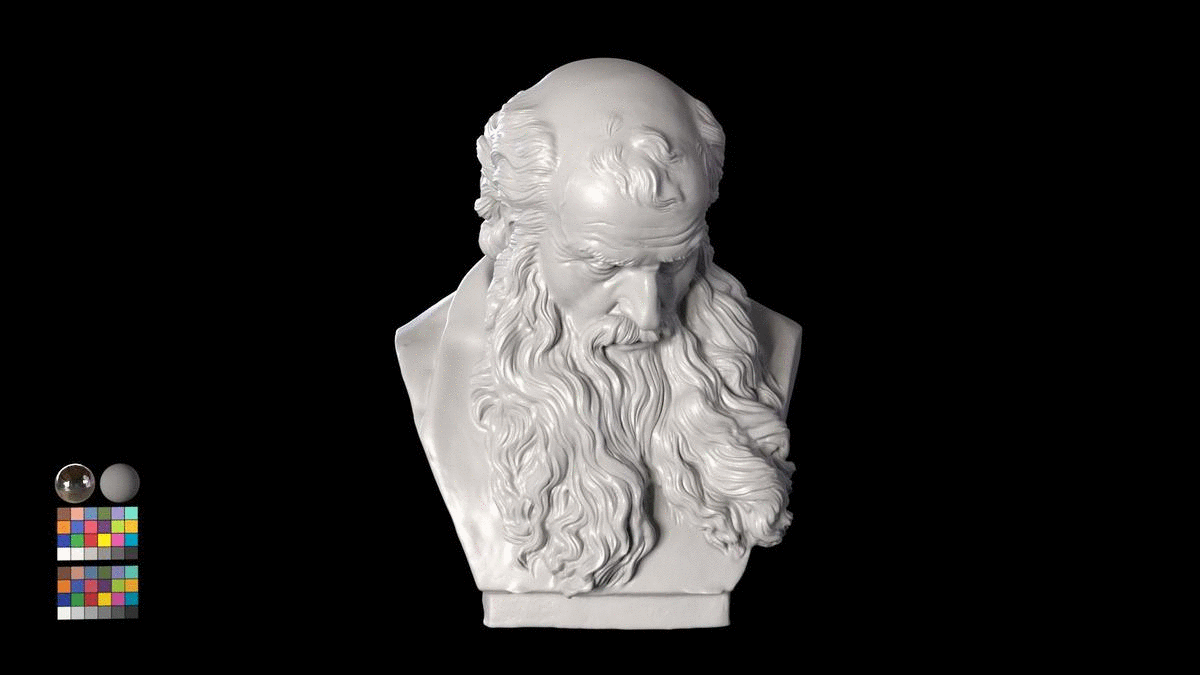
Rendered 50 frames turntable - 25f object rotation and 25f skydome rotation
SubD SETTINGS:
SubD settings are used to turn on or off render time catclark subdivision. Also there is slider for choosing how many subD iterations you want. You have to select object to control SubD settings.
MtoA CONSTANTS:
Create mtoa_constant_ attributes. Just select object, type name in the text field, choose data type and click create. After that use aiUserData nodes to read created attributes.
You can find more information about this HERE
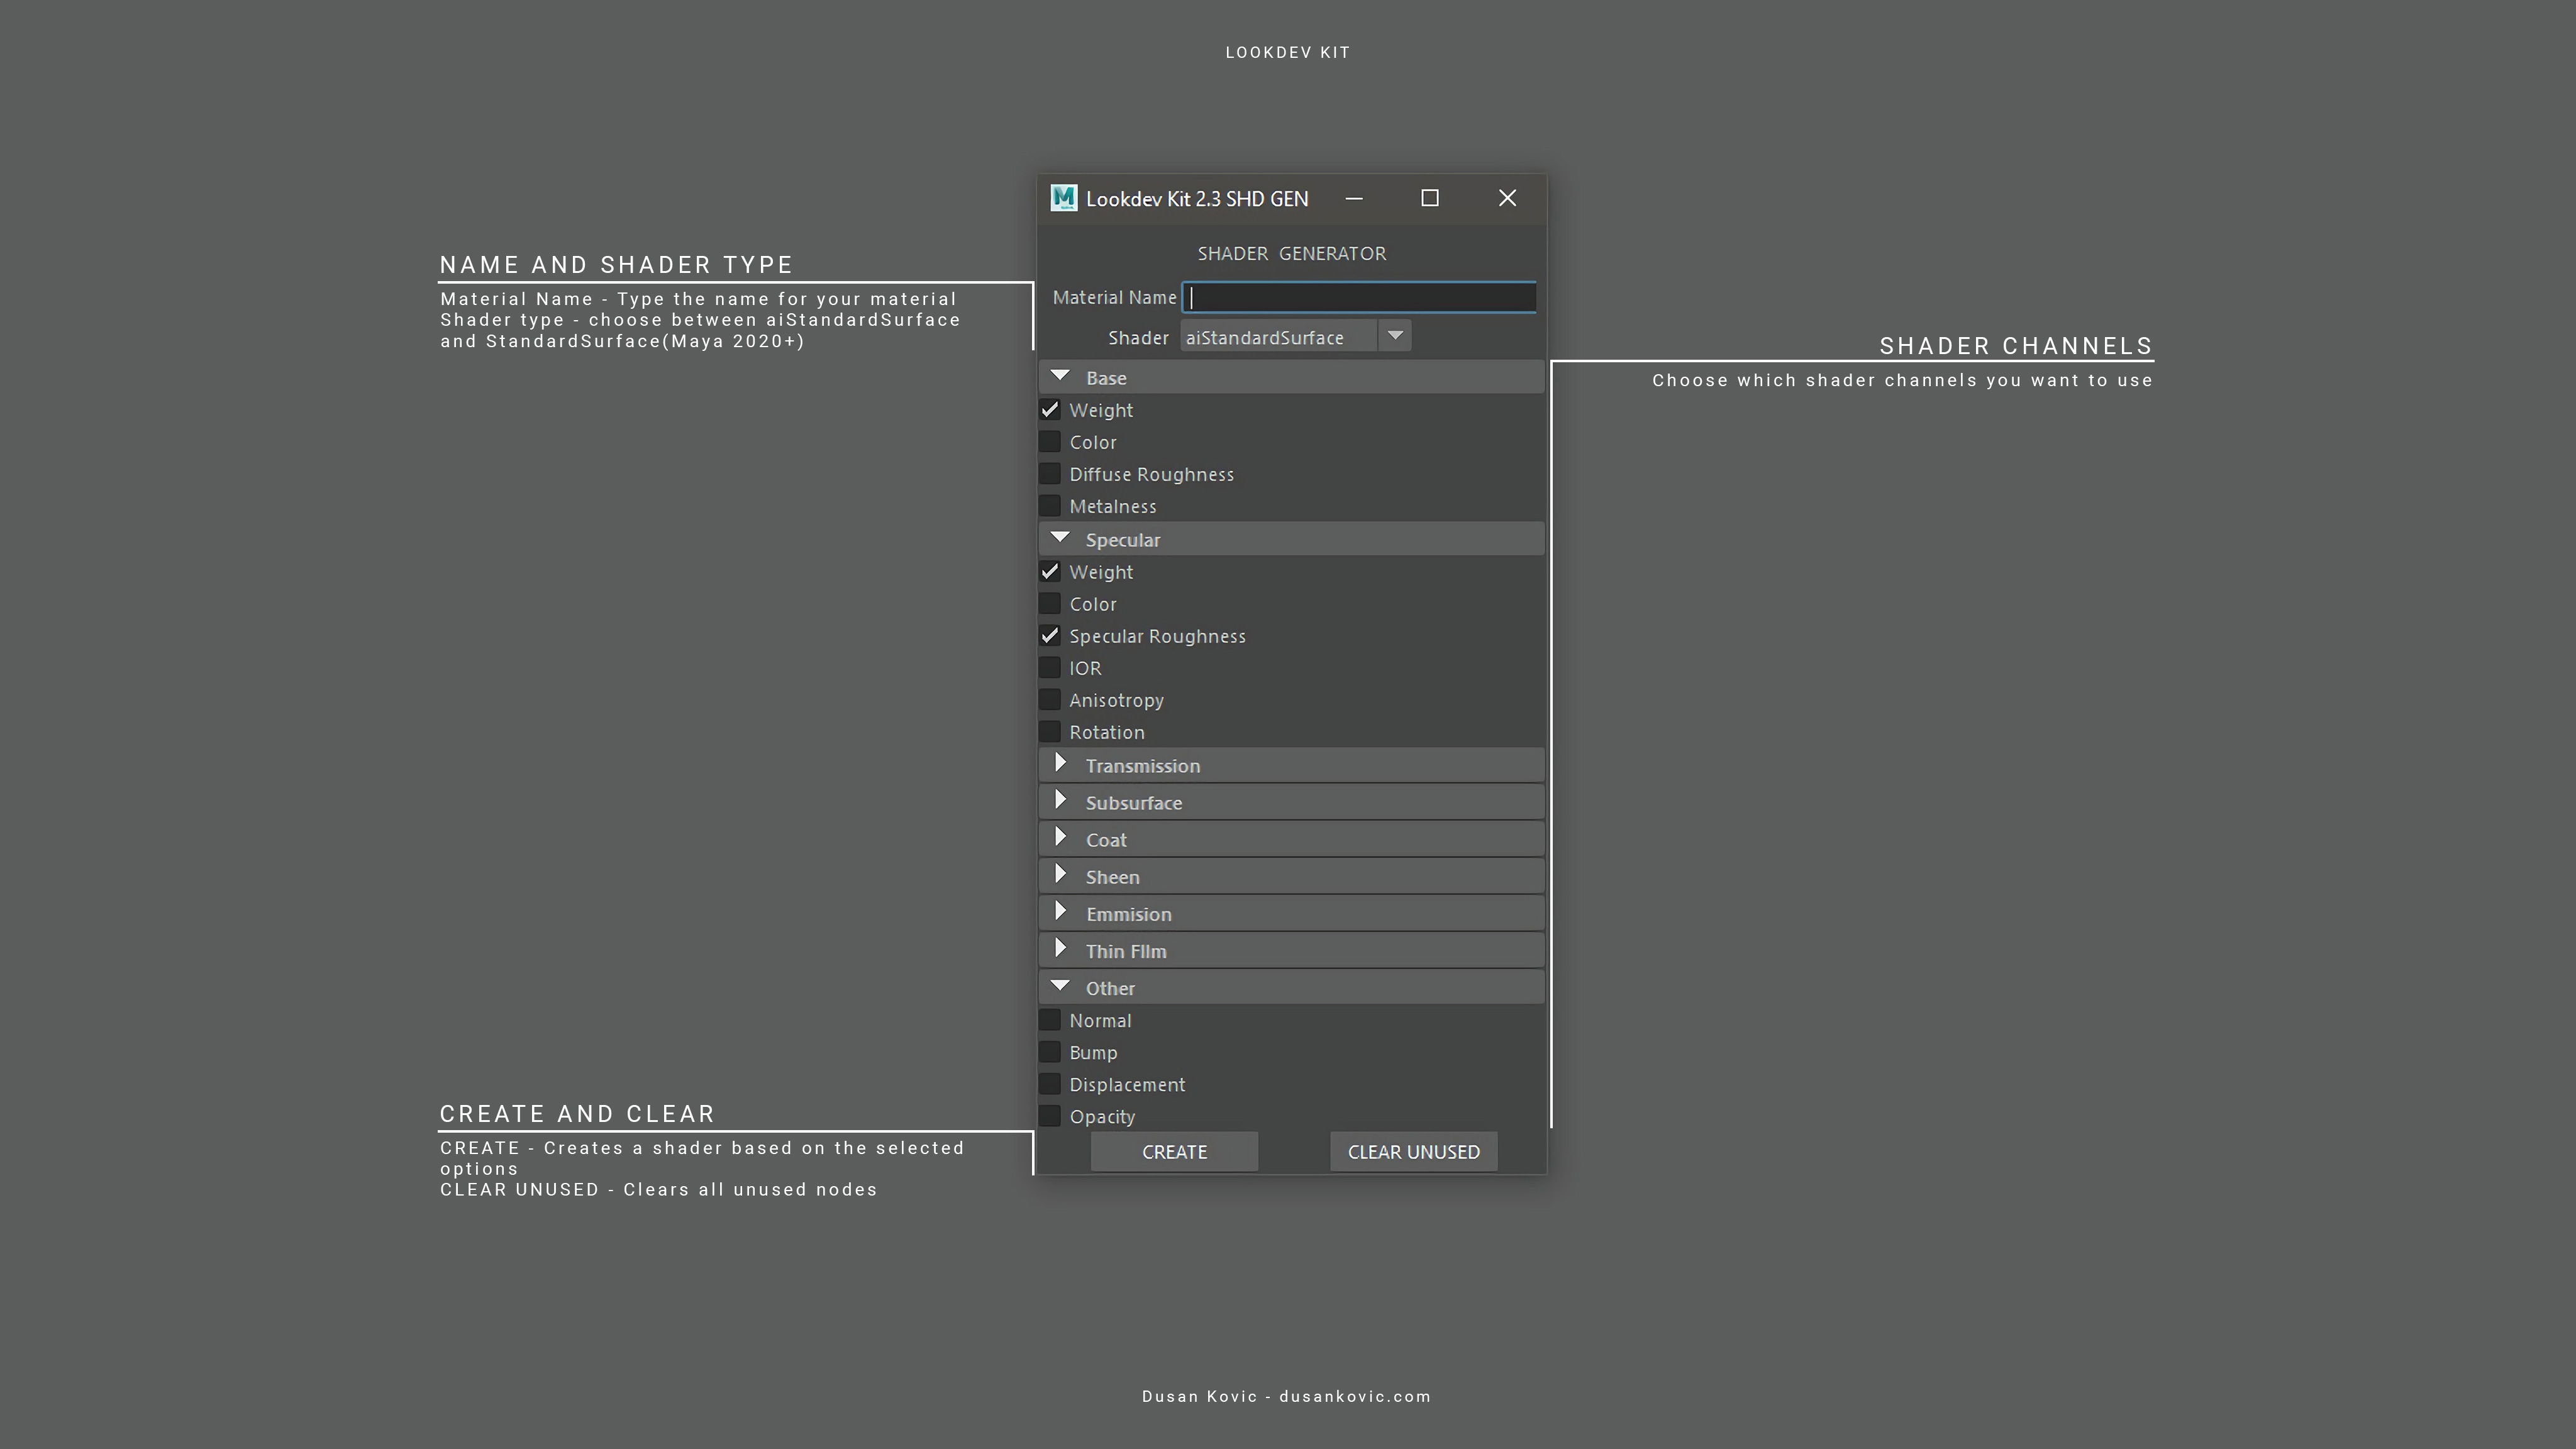
SHD GEN:
Shader generator is useful for creating a start shader for your lookdev process. Type shader name, choose which channels you need and click create. It will generate node chain with added aiColorCorrect, aiRange, aiClamp and aiColorToFloat nodes so you don't have to do it manually.
CREATE - Creates a shader based on the selected options.
CLEAR UNUSED - Clears unused nodes in the scene.